Tubular cast-on the Italian way is done without the extra yarn in contrasting color. It's no better or worse than the way it's done in the US. The result is identical: only the process differs. I like it because there is no unnecessary waste and you don't have to worry about finding a sacrificial yarn in the same weight, but different color. Here it goes (video clip of the cast-on and first row at the bottom of this entry).
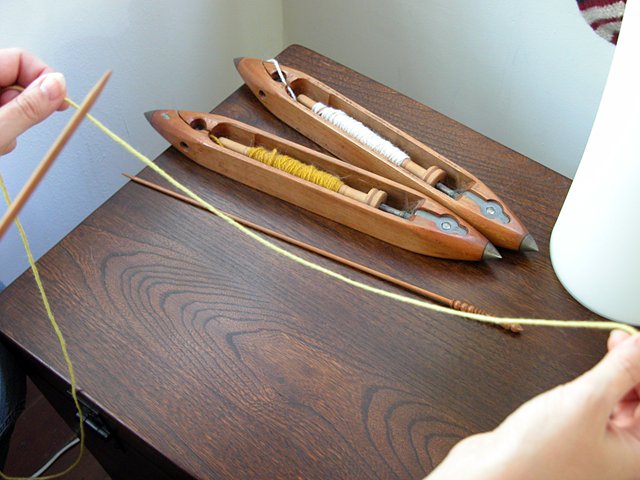
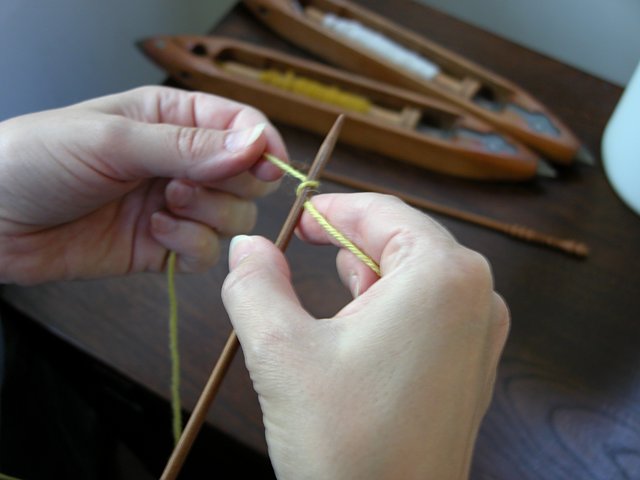
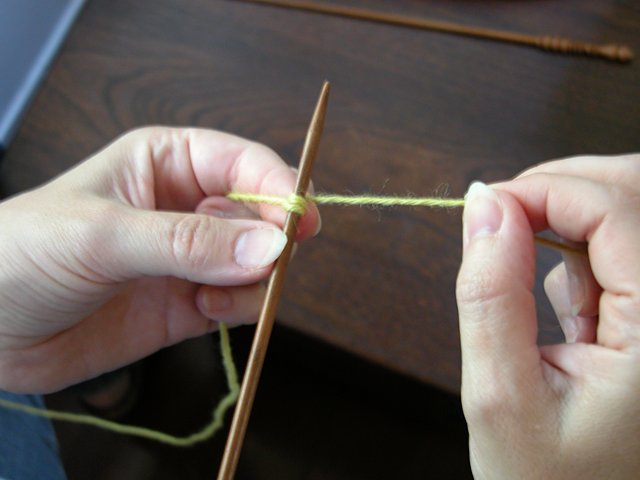
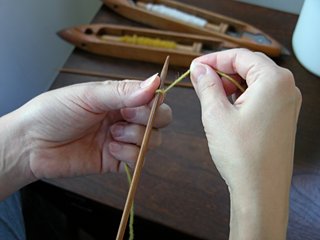
You'll need an equal length of yarn on both sides to cast on the stitches, so leave a tail as if you were doing a long-tail cast on.

Holding the yarn with both hands, place it under the needle, keeping the tail in your right hand. NOTE: I keep the needle under my armpit so I have one less thing to worry about while I cast on.
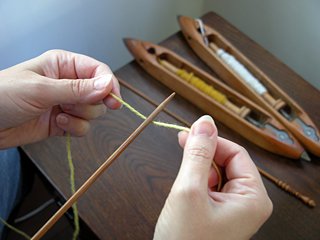
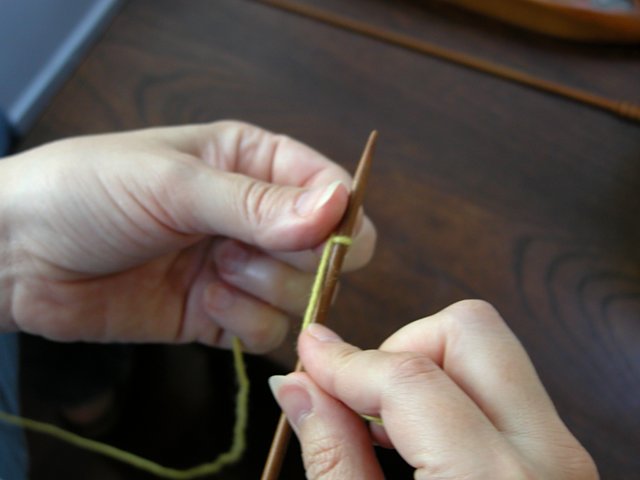
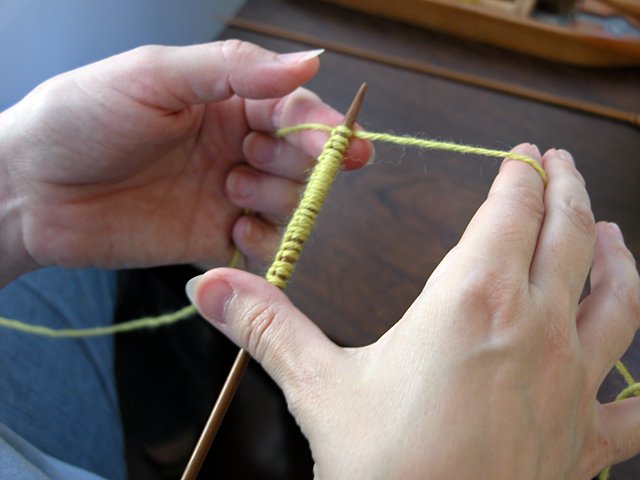
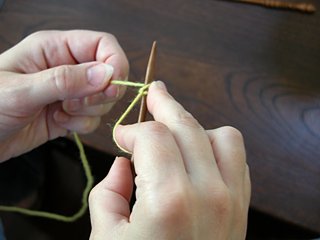
From now on, you will alternate between using left and right hand, moving the yarn with one hand and holding the last stitch in place with the other hand.

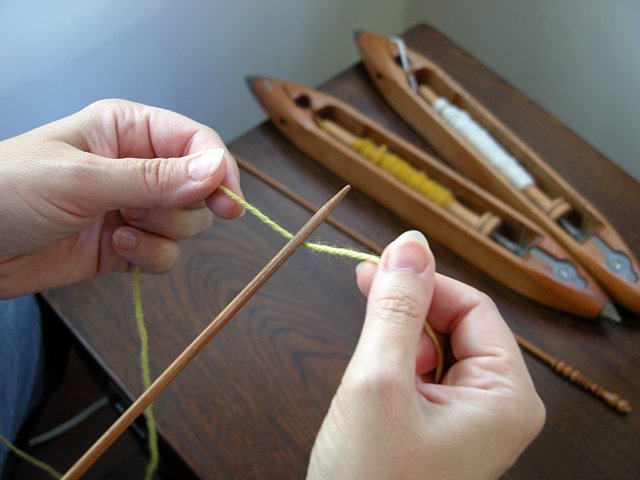
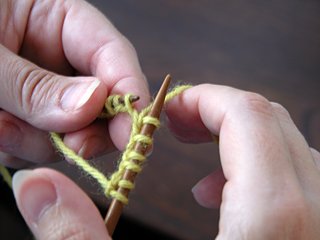
Let's start. With the left hand, bring the yarn over the needle left to right, while the right hand keeps the bottom part of the yarn in place.

Now hold the yarn in place with the left hand and with the right hand bring the right tail from right to left under the needle.

Left hand: bring yarn over the needle left to right.

Right hand: bring yarn under the needle, left to right.
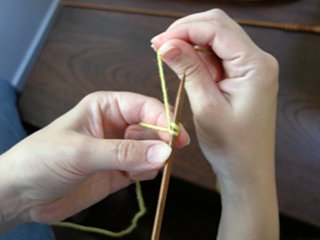

You have just cast on two stitches. Repeat this sequence until you have cast on the desired (even) number of stitches.
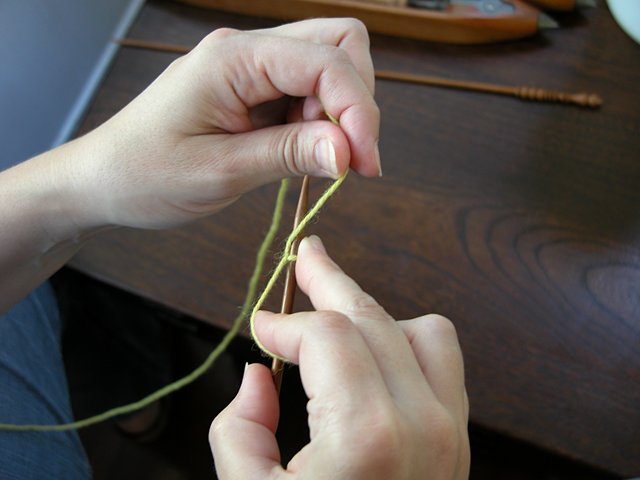
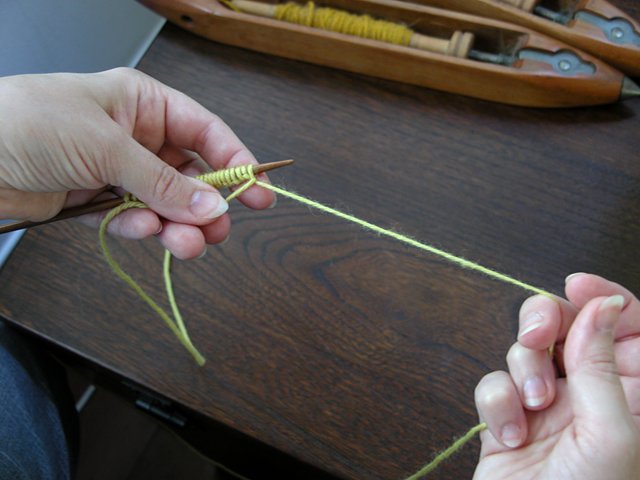
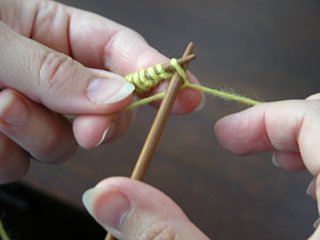
To recap the sequence:
1. Left hand: yarn over needle L to R
2. Right hand: yarn under needle R to L
3. Left hand: yarn over needle L to R
4. Right hand: yarn under needle L to R
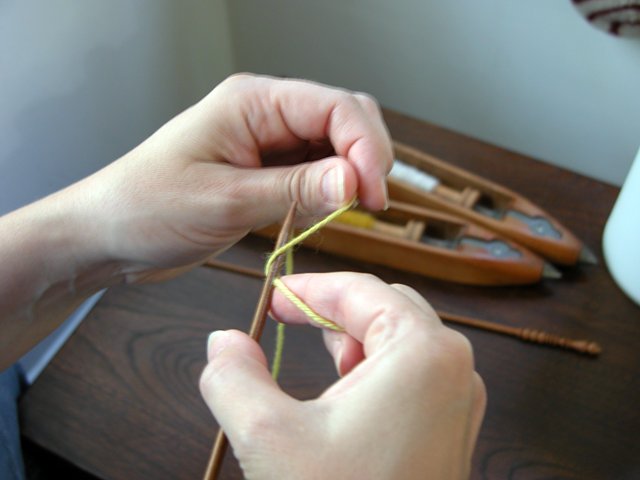
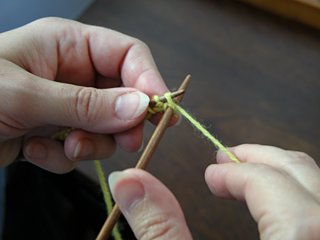
Basically, the left hand will always perform the same action: bring the yarn L to R over the needle.
The right hand will always bring the yarn under the needle but alternating between L to R and R to L.

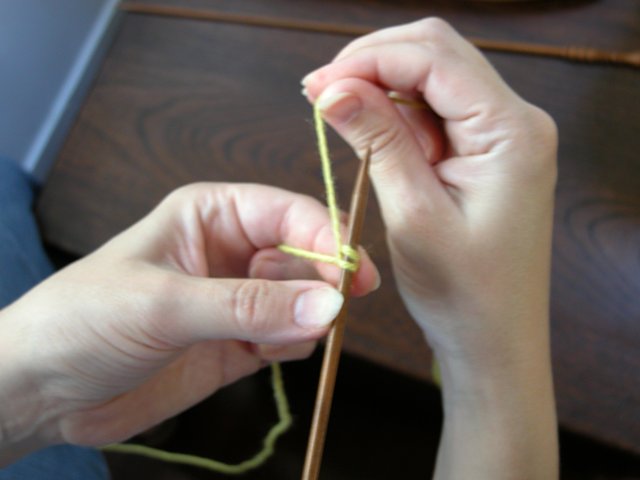
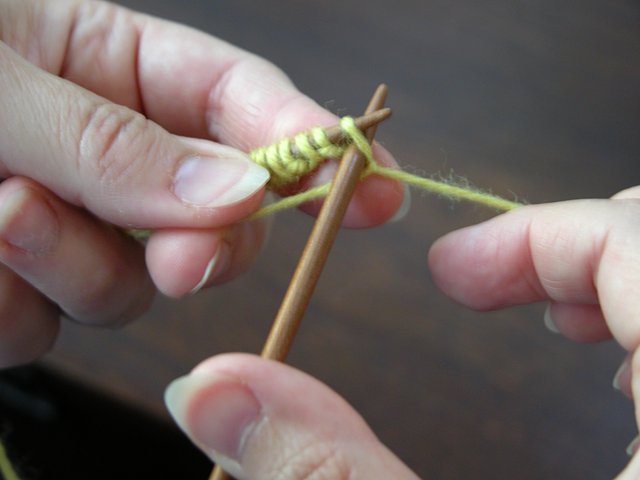
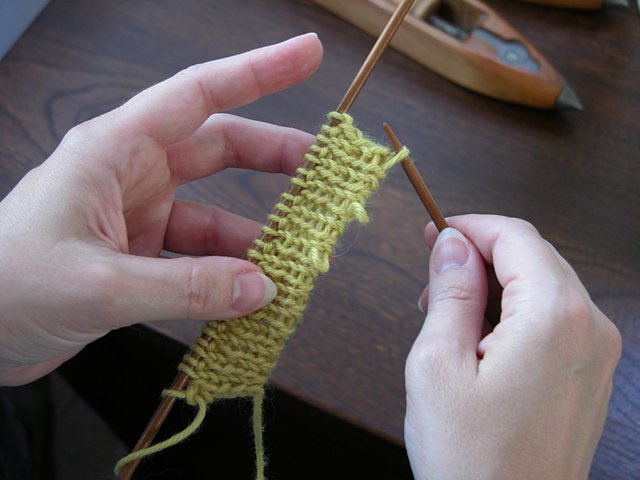
When you have the desired number of stitches, make sure you hold the last stitch in place as you change hands.

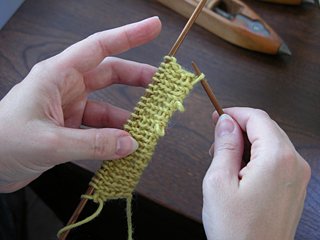
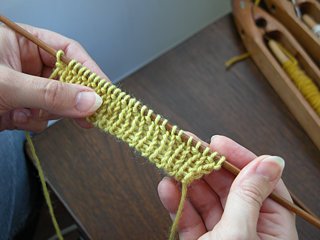
Knit the first row like this: *knit one, slip one as if to purl keeping the yarn in front of the work.* Repeat those two stitches for the rest of the row.
Knit three more rows like this. (Actually, you could do just two rows instead of four. It's a matter of preference).
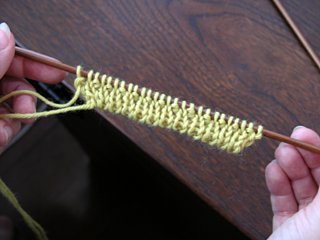
This is my sample with four rows of *knit one, slip one as if to purl* followed by two rows of *knit one, purl one*.
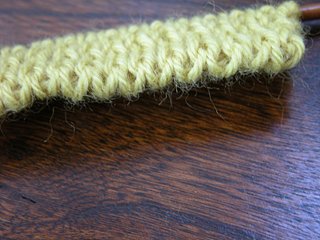
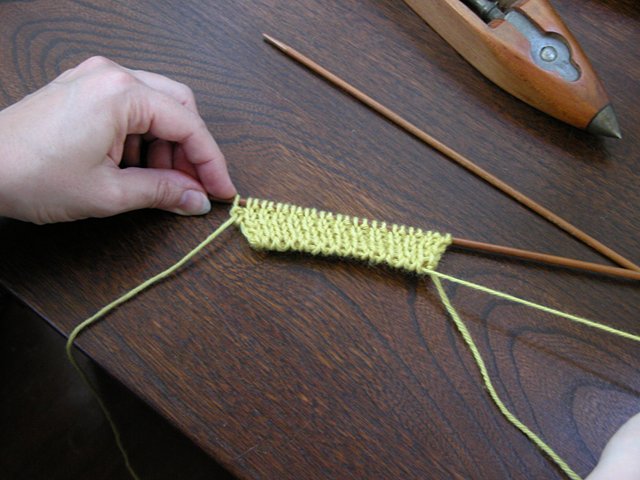
This is what the edge looks like at this stage. And now the fun part. Removing the thread from inside the "tube".
Stretch the edge to see which thread moves inside the tubular part and with a needle or your fingernails pull out a piece of that thread just enough to make sure you got the right thread. This part is the only tricky step. I usually pull out the thread at several intervals to make sure I really have the right one. Obsessive, moi?

Now pull.

Et voilà, les jeux sont faits. You have your tubular edge and you didn't waste any yarn.
NOTE: This cast-on is rather elastic and sturdy and well suited to sweaters, particularly when using 1/1 ribs. It's not indicated for thick yarn.
Special thanks to Andrea who put up with me all afternoon taking pictures and even videos. I may have a video clip to add to this entry tomorrow.
July 16, 2006
You can now watch a video of the cast-on and first row. NOTE: You'll need QuickTime to play the video. Sorry, but I didn't have time to convert to a variety of formats and QT is a free download available for both Mac and Windows.